On Wednesday, April 24, 2024 I attended the Amazon conference held at The Excel London. I have not attended a conference in a couple of years and I certainly picked an excellent conference for my re-entry into the world of technological conferences. This conference featured several opportunities for technological education, many interesting and highly informative presentations, and several educational workshops. There was also live music and a wide variety of fun activities. I personally enjoyed participating in Grip and Go and the 360 Booth.
As there were thousands of attendees there was plenty opportunity to meet others with shared interests, many of whom came from far and wide. I felt very fortunate to get into the auditorium for the keynote presentation as I could see many people still waiting outside. One of the presentations I found to be the most impactful was given by Tanuja Randery. Tanuja emphasized the importance of IT training very effectively with one idea. An organization can have the finest and most cutting edge tools and technology but will not realize a good return unless people can learn to use them.
I was most engaged by the workshops. I had the opportunity to interact with Amazon technologies such as EC2, VPC, Cloud Watch, Cloud Security Monitoring and Analytics. I must congratulate the Amazon documentation team. The material they created was extremely didactic, and intuitive enabling me to complete three courses during the afternoon. I enjoy keeping myself updated and well informed in the area of technology. I came away from the Amazon conference having met wonderful people, having established valuable connections, and having been inspired to develop fresh ideas of my own.
I am so grateful for the support of my leaders at Queen Mary University. It is their forward thinking approach to learning that allows me to attend these excellent conferences.
YOW London was held on 29-30 Nov 2022 in CodeNode Space & Events, a very convenient location just a few minutes from the Liverpool Street station. Everything was first class, from presenters and stalls to organization and food. As it is seen in the picture, the registration desk and the venue were so modern and everything run very smoothly.
There were 33 speakers at this event. I could not attend all the talks because they were taking place in three different rooms (CTRL, ALT, and CMD). From the ones I saw, the following six were my favorites:
Robert Virding and his experience with Erlang programming language, from how the idea was born until the creation of the ecosystem. His team has faced issues, including concurrency and parallelism.
Jeff Williams was in charge of the DevOps part emphasizing the use of IAST to do analysis in a matter of seconds (DevSecOps). I admired the knowledge and experience he shared and his very neat slides.
3. Jessica Kerr and her talk Going Deep on Gamification, she really knows how to engage the audience and she combined all her decades of experience with the principles of participating in a software team.
4. Adam Tornhill with more than 3 decades of experience did an analysis of a healthy code that not only impacts on business but also on the developers health. He focused in identifying ‘risk areas’.
5. Linda Rising gave a talk remotely, focusing on the personal aspect of a developer. She made us think about how our own prejudice impacts on our work. I also think that communication is important in a team, but are we doing it properly? Should we trust anything or anybody, including ourselves?
6. Jesse Anderson has been mentoring several big data projects in his managerial role at the Big Data Institute. His message was basically to align the technical objectives of a project with business values. This will generate a clear plan for choosing the right technology and the right people to complete it.
Attendees
Many developers from all over the world came to the event. I had a brief chat with some of them who introduced me to programming languages such as Typescript and Apex (Salesforce). Below are a couple of photos of visitors from Poland and Sweden. Thank you for your kindness 🙂
Lovely connections
Networking is important in order to grow professionally, but in this life you can also have a heart-to-heart conversation in unexpected places. I found these two lovely and experienced professionals: Nicki Watt and Catherine Stenson. Thanks OpenCredo, we loved the souvenirs and the sweeties you gave us.
Impressions
I was pleasantly surprised by many people and organizations that made me feel like Christmas is around the corner. LaunchDarkly, for example, serves more than 20 trillion feature flags a day, having happy customers such as IBM and the Santander Bank! I was also pleased to have a photo with the approachable Dave Farley, who has 149.000 subscribers to his YouTube channel.
I was definitely dazzled by Dylan Beattie, the creator of the Rockstar programming language. Besides giving an excellent talk that involved and combined several disciplines such as maths, AI, physics and music, he gave a live concert with his colleagues at the venue. I enjoyed the geeky concert like a teenager! Another gift I had from the conference was a book from CodeScene. Thanks Matti Hanel!
Organizers
I want to thank the GOTO organizers, and the YOW events team! Especially Oliver Zhao for giving me this great opportunity in London! At every step, I felt that the organizers had made a massive effort and it paid off! This was one of the few conferences at which I have seen most people stay until the very end.
How old is the Internet? Are we aware of the technologies that are behind this concept? What does it mean to be secure while accessing the Internet? How many antivirus programs have been developed to protect GNU/Linux systems? These were some of the questions I had in mind when I decided to attend OSCAL 2022. To my surprise, this event exceeded my expectations. I discovered really interesting topics and workshops, young tech developers, experienced speakers, hardworking organizers, and a very enthusiastic FLOSS community in Tirana, Albania.
Going to the event
My journey started on Platform 5 in Reading from were I got a train to London Gatwick airport. It was a sunny Friday morning in the UK, and it seemed that many people took the day off because the train was completely full! Laughs all around were part of my journey, smartly dressed people, ladies in glamorous dresses and hats, presumably heading for Ascot races.
A direct flight of about 3 hours was on time and, ironically, when I was trying to connect to Internet at the airport, I had to fill in an online form which not only asked for my personal information such as full name, email, and phone number but it also wanted to know my citizenship status. Why do they need to collect this information?
The distance from the Tirana airport to the centre of Tirana was about 30 – 40 minutes by bus or taxi. From there, I was able to walk to almost everywhere as the centre is quite compact. The city was full of activities for youngsters, over the weekend there were dance performances and concerts every night.
The event
Two days of talks, workshops and the exhibitions were held on the second floor of Tirana European Youth Capital HQ. A lovely patisserie was conveniently located on the first floor, so we could enjoy our food in the same building.
On the first night I was able to attend the PreParty at Hackerspace. I could see how the community decorated its space. It got my attention how they framed the posters of previous events and I really felt it was a very connected and organized team. I was so glad to finally meet face-to-face the young women who run the Hackerlab in Albania. Some of them are FLOSS developers, security administrators, marketers and promoters in Albania.
Talks
You can see the detailed list of talks here. I listened to the presentations made by OpenSUSE, LibreOffice, Wikipedia and the Fedora community. Pictured below, the talks by Johannes and Mike. Johannes did 5 live demos to create a secure setup for developers. Mike shared the ongoing efforts done by the Libre Office community.
Censorship of Wikipedia was a controversial talk that kept us very concentrated for more than 25 minutes. Good job Lars! There was also a panel to talk about the FLOSS situation over the past 20 years and future opportunities.
Other talks were focused on the laws and regulations regarding the data we publish and the opinions we express online.
Workshops
I attended two workshops that were full and even people were stood up. One by Endri: Digital Forensics and Incident Response, and the other about TOR by Klesti Fetiu.
Exhibitor stands
One of the projects that caught my eye was CARBONIO which is an alternative to Office365. I tested the software and it was able to do calls, mark calendars, receive and send emails. One novelty of this software was the feature of using and editing in real time LibreOffice files from emails.
I definitely recommend this free software. It was full functional and it provides a fresh UI.
Fedora
It has been almost ten years since I joined Fedora as Ambassador in July 2012. It was so nice to meet in person Mariana Balla from Fedora Albania. It was also a pleasure to meet Nefie Shehu who is a very active FLOSS leader in Albania. It was nice to chat with OpenSUSE.
My presentation
I started my presentation paying my respects to Marina Zhurakhinskaya who has done so much during her lifetime to promote the participation of women in Linux around the world. To see my presentation, please click here.
Curious facts
We had a workshop to unlock a lock.
The traffic lights duplicated with long strip-lights
The touch-screen controls in an elevator
I saw many more women than men in the city.
During my flight, for the first time I noticed an aircraft going in an opposite direction – a huge airliner was out of sigh incredibly fast.
Thank you Fedora for sponsoring my traveling to Tirana, Albania! I enjoyed getting around the city!
My adventure of attending the 5-day conference started with “Looks like we have a little bumpiness ahead. Please return to your seat and buckle up” when I took a plane from Heathrow, London.
This year, ISC registered 3007 attendees and 137 exhibitors. Definitely, it is one of the most successful worldwide HPC conferences in the past two decades. And, although I am well aware of the agenda and the structure of the event (because I have attended before), it was still like a box chocolate every single moment.
The HPC world-class conference
I would like to share my personal experience and what this HPC conference means to me:
The keynote speakers are in charge of projects that are truly transforming the future of mankind. In my experience, all of them have been approachable to exchange opinions, extremely kind and brilliantly funny. You can only imagine how impressed I was when Prof. Thomas Sterling “the father of HPC” remembered exactly all our conversations we had almost 7 years ago. I was really honoured to talk to him again.
You can definitely get hold of the newest technologies if you are thinking of implementing HPC in your company. In exhibitor space, the stalls had both technical specialists and commercial staff to enlighten and support you.
If you are in the academia, you have the chance to talk with the top researchers of HPC while they are presenting their posters or making their presentations.
The HPC ecosystem is covered by workshops run by teams from the most renowned HPC institutions such as OpenMP, MPI, CUDA/GPU, Amazon and many others. They were really engaged and I literally felt how my brain was being stimulated.
Every single detail in the conference was neat and carefully detailed: the registration, the website, the catering, the internet connection, audio, video, photos. It was an A1 event.
On the photos above you see me hearing about GPU-related projects, watching a virtual factory simulation, meeting one of the coolest HPC scientist in the world, showing off the new parallel programming books I received and having fancy food.
We are the champions
One of the most exciting moments of the event is the announcement of the top1 supercomputer in the world. Frontier is the winner this year. It uses AMD hardware infrastructure. Although it is the most powerful supercomputer today, the problems of the present and future need better infrastructure. To this end, Intel is developing Aurora.
The nodes of Frontier (with AMD), and Aurora (with Intel) respectively.
In my eyes, a really great way to start in the world of HPC is to set up your own supercomputer and the Student Cluster Competition gives you that opportunity. This year, none of the Chinese teams attended the event in person, but they were still victorious online! They are usually the winners at this competition. I was very pleased to see that my favourite teams were on the stage! The team of my university – the University of Edinburgh! The Spanish team stood out because of their team spirit, and of course, the winners from the University of Heidelberg.
It so happens that guys from Heidelberg helped me with my luggage at the train station when I arrived in Hamburg. When we later bumped into each other during a coffee break, they told me that they have been taking part in the competition for 5 years. Call me a clairvoyant but I told them they were going to win this year. And they did.
Congratulations again to the team Heidelbears from the University of Heidelberg
Marvellous members of the HPC community
What a list of notable HPC people from different organizations around the world! The roller-coaster feeling I experienced throughout the event was definitely due to the interaction with the people I met after COVID years in person. Meeting them was a real birthday present to me. Thanks for the selfies to Jack from Nvidia, Ben from the Uni of Edinburgh, Toby from Intel, Mateo from BSC, Laura from Washington DC uni, Prof. Jack from Tennessee, Prof. Satochi from RIKEN, Richard of PETSc, Hartwig, Ieva, Bastian and Oleg from the math session, and Prof. Sterling from Indiana University.
Thanks for the kind attitude to have my HPC selfies at ISC 2022.
New talents
As the HPC community needs to pass on the knowledge to keep growing, I was so glad to meet new and young talent in the HPC field. Thanks to all for the chats, lunch times, cocktails times, debugging ideas, and for the new gifts received at the conference. Innovative ideas are the best gifts ever!
I was so curious about their work in the field of HPC and why they came to ISC 2022. It was very impressive to hear about the new libraries they are developing using parallel algorithms.
Promoting the Women participation in HPC-Science
I can tell that I was able to picture almost all the women attendees in the event. These extraordinary women had to work hard to be exposed in the event. Some of them were speakers, poster presenters, and volunteers in the ISC organization. Glad to see how their institutions promoted their HPC career progression.
The Women in HPC (WHPC) had a space to discuss the challenge women face in HPC field every day because HPC teams are mostly male-dominated.
Great scientific and HPC work done showed in their posters
I think that the message was that being in the right place helps to find inner peace, happiness, and then you can grow. Thanks again to this group since 2016.
My ISC mentor
Having a top A1 event recognized around the HPC world demanded several years of assiduous work. Ms. Nages Sieslack, the ISC Marketing Communications has been demonstrated dedication and love for her job. She is truly an inspirational mentor. She actively rose me to the top-class HPC universe, since I was a teacher in Peru at UNI, she kindly respected my dreams about developing HPC tech in Peru, and my willingness to spread the HPC word around the world.
I attended the Mixed Precision in Low-Rank Approximation and Randomization talks. I was very interested in their work that involves the use of preconditioners, Krylov Subspaces, and scalability of direct methods such as LU.
HPC Research Posters
The research posters related to HPC were posted all around the ground and second floor. I found some implementations on HPC cloud and migrations from AWS to Azure. Other interesting research we found was related to the infinite and the Conjugate Gradient.
Women in HPC
Today, we celebrated the reception of Women in HPC, present were all people in favour of the promotion and the development of the careers of women in HPC.
Closing up Keynote
Laura Barba and JeffMcVeigh gave the keynote in the afternoon. Laura highlighted the 10 years of PI Manifiesto and the impact in OpenSience. The Intel CEO presented new sustainable technologies towards the Zetaflops era (The Aurora core, Channel, I/O, storage).
Workshops and Cluster Competition
HPC organisations are still presenting their products and services in their booths.
The students from different universities are still competing with their clusters.
Lovely connections
I had the chance to meet people from Estonia, Arabia Saudita and USA (Laura)!
HPE dinner
Hewlett Packard Enterprise offered tonight an extraordinary dinner by the river.
We keep transforming the future of industry and academia. Thanks to the effort and guidance of many people involved around the world in making it possible. This year, the keynote talks were the charge of NVIDIA leaders, followed by more exciting events. This is how the HPC community celebrated their milestones.
Opening Keynotes
The Vice President of Omniverse and Simulation Technology at NVIDIA, Rev Lebaredian, presented the Digital Work they have been working on using different open-source applications in modern manufacturing industries, a fantastic example was presented shortly afterwards by Michele Melchiorre from BMW presenting digital twins of manufacturing facilities. He also emphasised the importance of AI to get more accurate calculations to simulate real world complexity.
The house was full and I was glad to see that tech was incredibly used when the Q&A through the ISC app. In real time, the best questions were up-voted in order to be asked to the keynote speakers.
The alarm
Immediately after the first break, the fire alarmed rang and we all had to evacuate the building. I think more tweets were posted due to this incident, comments such as “cluster on fire?” were shared on the media.
The Nobel Prize of HPC
I have the sensation the greatest winners of the event were ORNL and Jack Dongarra from the University of Tennessee! It was a big ovation from the audience. I had the chance to interact with him a couple of times and I think he is an incredible person! Congratulations again!
The top 500 list
Frontier at ORNL beated the exaflops this year! The ORNL director revealed the difficulties they had since 2020 during COVID lockdown to make it. It was challenging to support Frontier and SUMMIT in production at the same time. The top tree supercomputers are reaching the exascale barrier. Neat work also presented by the LUMI team!
The Exhibition
Outstanding stands were ready today at 3pm! HPC industry and organisations offered novelty and useful gifts this time such as luggage tags and personalised mat for coffee cups. Some of them are offering everyday the opportunity to win a Lego Star Wars Helmet :O
Food and icecream
Attendees are still enjoying the delicious food served in “batch containers?” 🙂
Chocolate ice-creams were able at any time today!
Networking
Thanks for all the good vibes HPC people! Today was a very long and very excited day!
After two years off due to pandemic, on Sunday 29th the HPC conference, namely the ISC returned.
As an early bird I arrived at our venue first thing this morning. This is how the entrance of our home for the next few days, the CCH, and the registration desk, look like, :
Tutorial Day
There were many tutorials to choose from during the first day. Following German punctuality, all talks followed the agenda and were on time. Personally, it was a very hard to decide whether to attend the GPU day or the half day of OpenMP and the other half for MPI parallel programming. Pictured here is the OpenMP team that had planned to release OpenMP 6.0 in November 2023. In the right side of the picture, you can see a lady running an HPC tutorial. It was so great to see a woman presenting her expertise.
HPC people
Meeting HPC people I already know was fantastic! I am very glad to have had warm greetings from them.
And of course, such conferences are a wonderful opportunity to meet many new, friendly people.
The HPC Community
HPC companies stalls
People from all over the world are working hard to make everything perfect for the exhibition booths.
Student Cluster Competition
Students from related HPC programs at many universities have arrived today and prepare their clusters to boost them up for the student cluster competition.
Bytes Size Food
Food came well prepared in perfectly sized individual portions (or bytes?) 🙂
The breakfast, the lunch and the breakfast were all first class.
AnISC Team
I was delighted to meet the ladies who are so important behind the scenes of one of the prominent HPC conferences in the world such as ISC which has been held since 1986.
The AMD night celebration
The partnership of Hewlett Packard and AMD organised the exquisite dinner.
Overall, I am enjoying the event. Many thanks to the ISC committee 2022 for the welcoming tweet!
Homeworking was one of the challenges we faced during the lock-down (2020 – 2022). During that period, I was also adapting to my first professional job in the UK as well as to a new society rules in England. As a single woman from overseas, my resilience was tested by cultural barriers and obstacles. Then, I was so excited to see my profile at the @Womeninfusion page. At that moment I realized that all my struggles had only strengthened my resolve to stay true to my objective: to become an HPC Software Specialist.
Here are some of the HPC events I participated during the lockdown period in the UK:
HPC Webinar 2020
The first HPC event I organised was namely HPC webinar 2020 during the lunch time. I was quite new employee, so I was thrilled to see Prof. Ian Chapman announcing it!
Spanish Fusion HPC Workshop
In 2020, I presented a work I did to benchmark preconditioners on basic multiphysics. You can see my talk recorded here.
In 2021, a deep studying of the preconditioners scaling was presented, I only focused this time in the displacement 3D problem. You can see my talk recorded here.
DevConf.cz 2022
I presented my work of preconditioners using different mesh sizes in the online conference sponsored by RedHat.
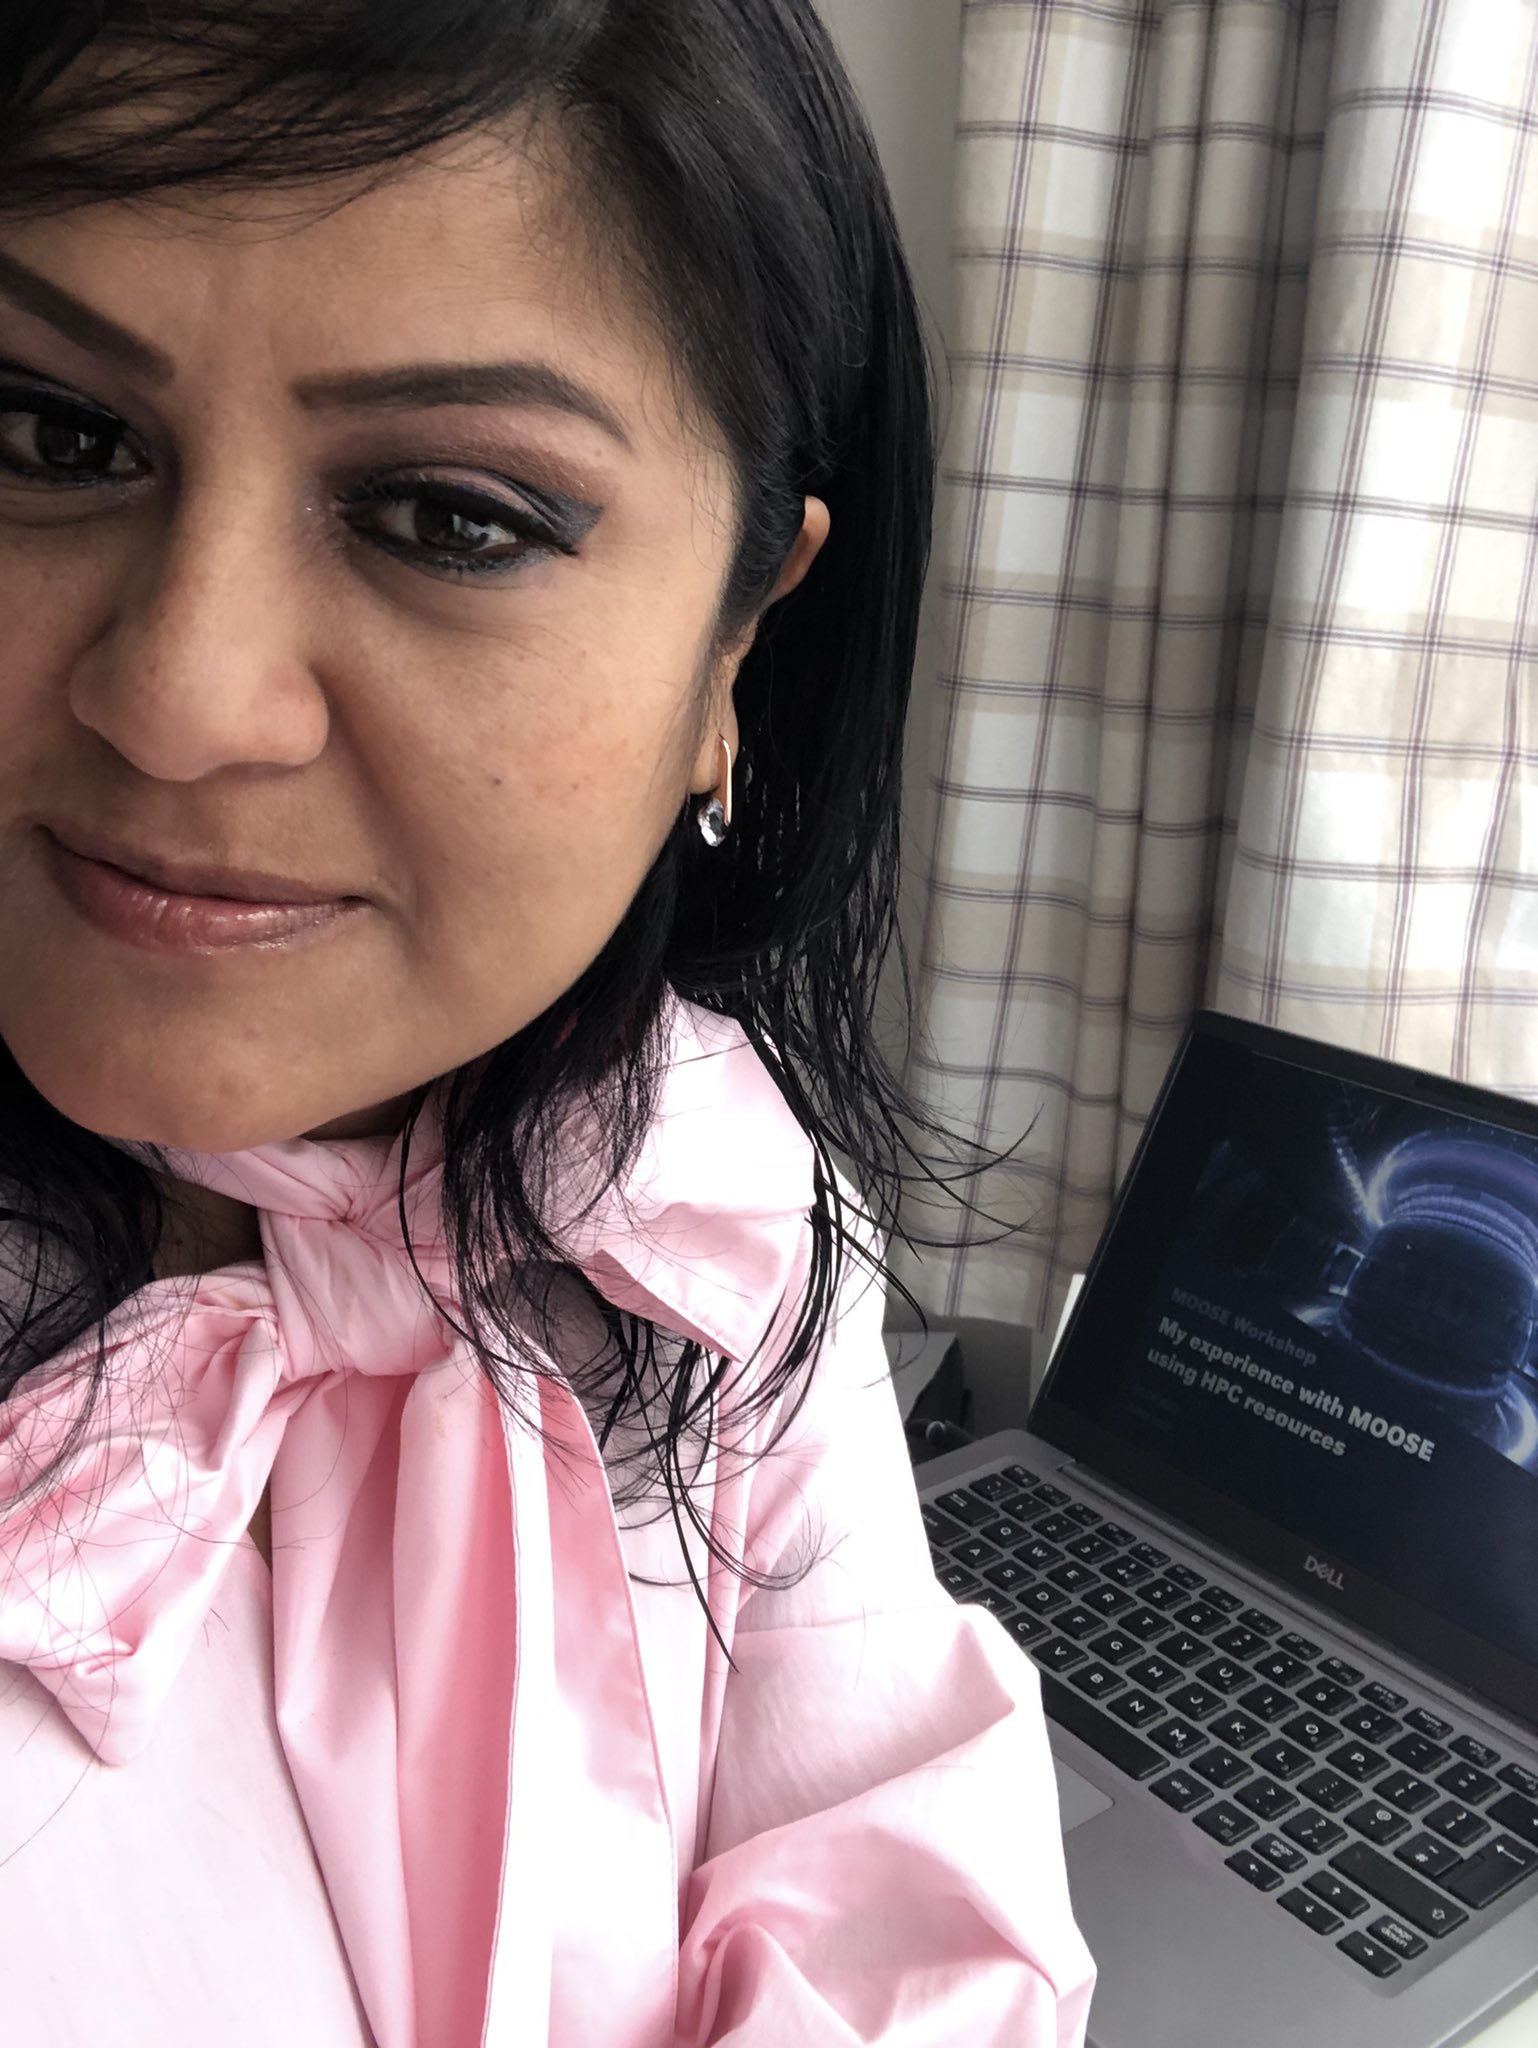
Using MOOSE and HPC
Internally, in the UK 2022, my team lead by Helen Brooks organized a MOOSE Workshop were I gave a talk in regards to the HPC performance on MOOSE.
Going back onsite after around two years of lock-down brought me some nice surprises. Here are some of the activities I attended this year at UKAEA.
STEP Showcase
On May 12th, I was able to present what our team in STEP has done in the past two years. The team is leaded by Andrew Davis. Under his supervision, I work on the digitalization of the divertor monoblock. I had a sparkling day! I met Adamos Lukenskas who is working on the optimization of the design of the divertor monoblock in real life! 🙂
During the showcase, I’ve encountered more nice STEP people. I was glad to find a rainbow of diversity. Here are some pictures of people from Italy, Bermuda Island, Chile, Brasil, and of course… me from Peru! 🙂
Let’s talk about gender
“Men are from Mars, Women are from Venus”. UKAEA is aware about, then an event to promote the women networking as part of our health and wellbeing in our daily. This event was hold on Wednesday 27 April.
It was great connecting with outstanding women in the fusion field and those who work in support of other women rights.
Star Makers
On April 13th, an informative movie was presented during our break. This documentary film highlighted the record energy produced over five seconds at UKAEA. This world record-breaking fusion energy demonstration was the work of several years as well as the effort of passionate and dedicated employees. I was pleased to meet in person one of the starmakers: Damian King!
In my eyes, this movie evidences the work of a great woman and professional: Ferrnanda Rimini
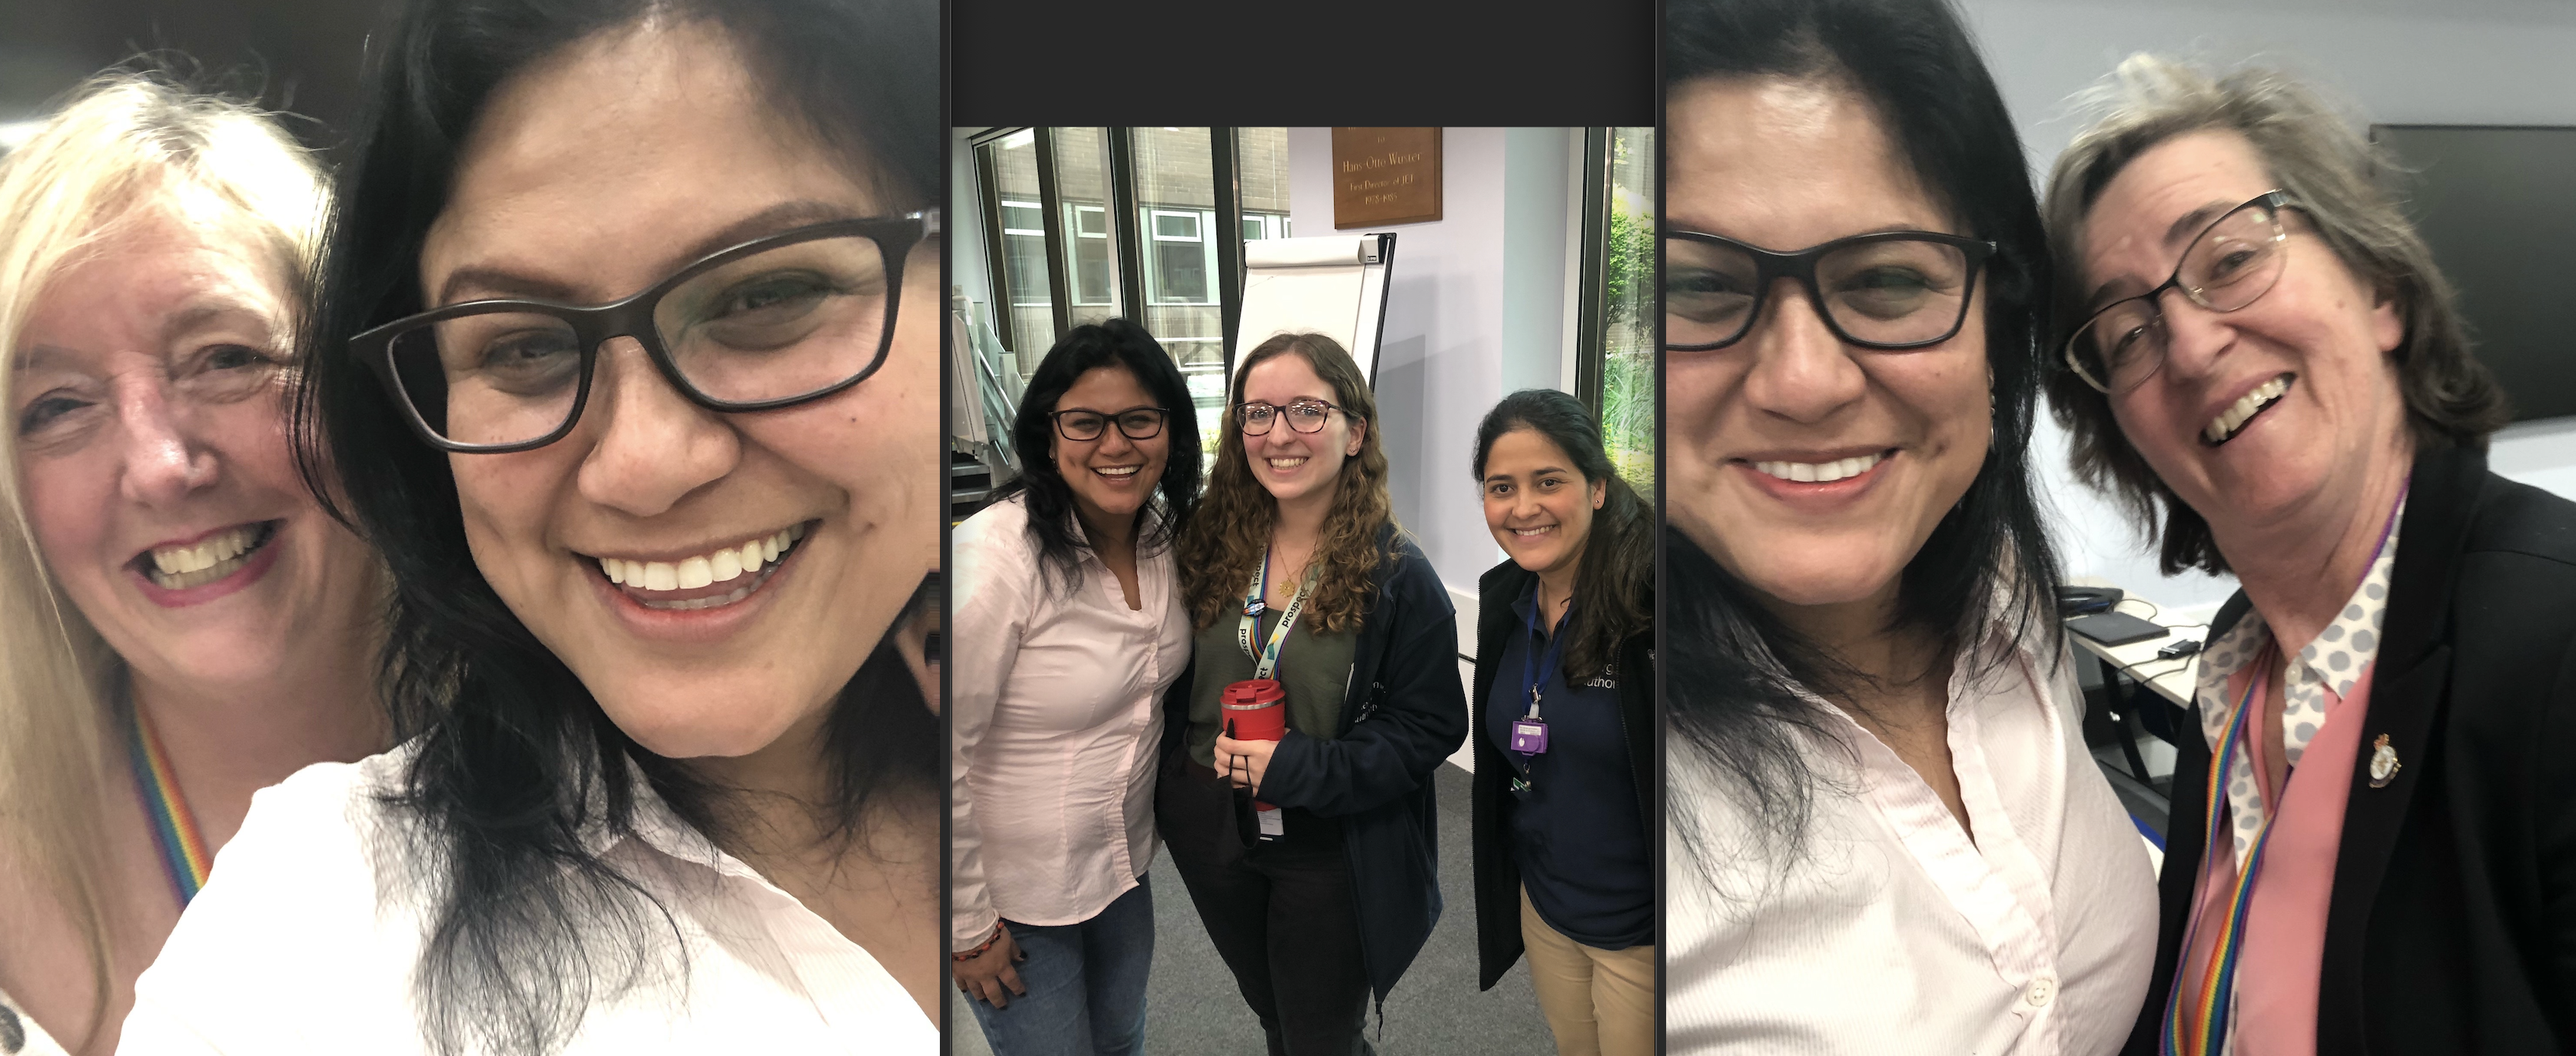
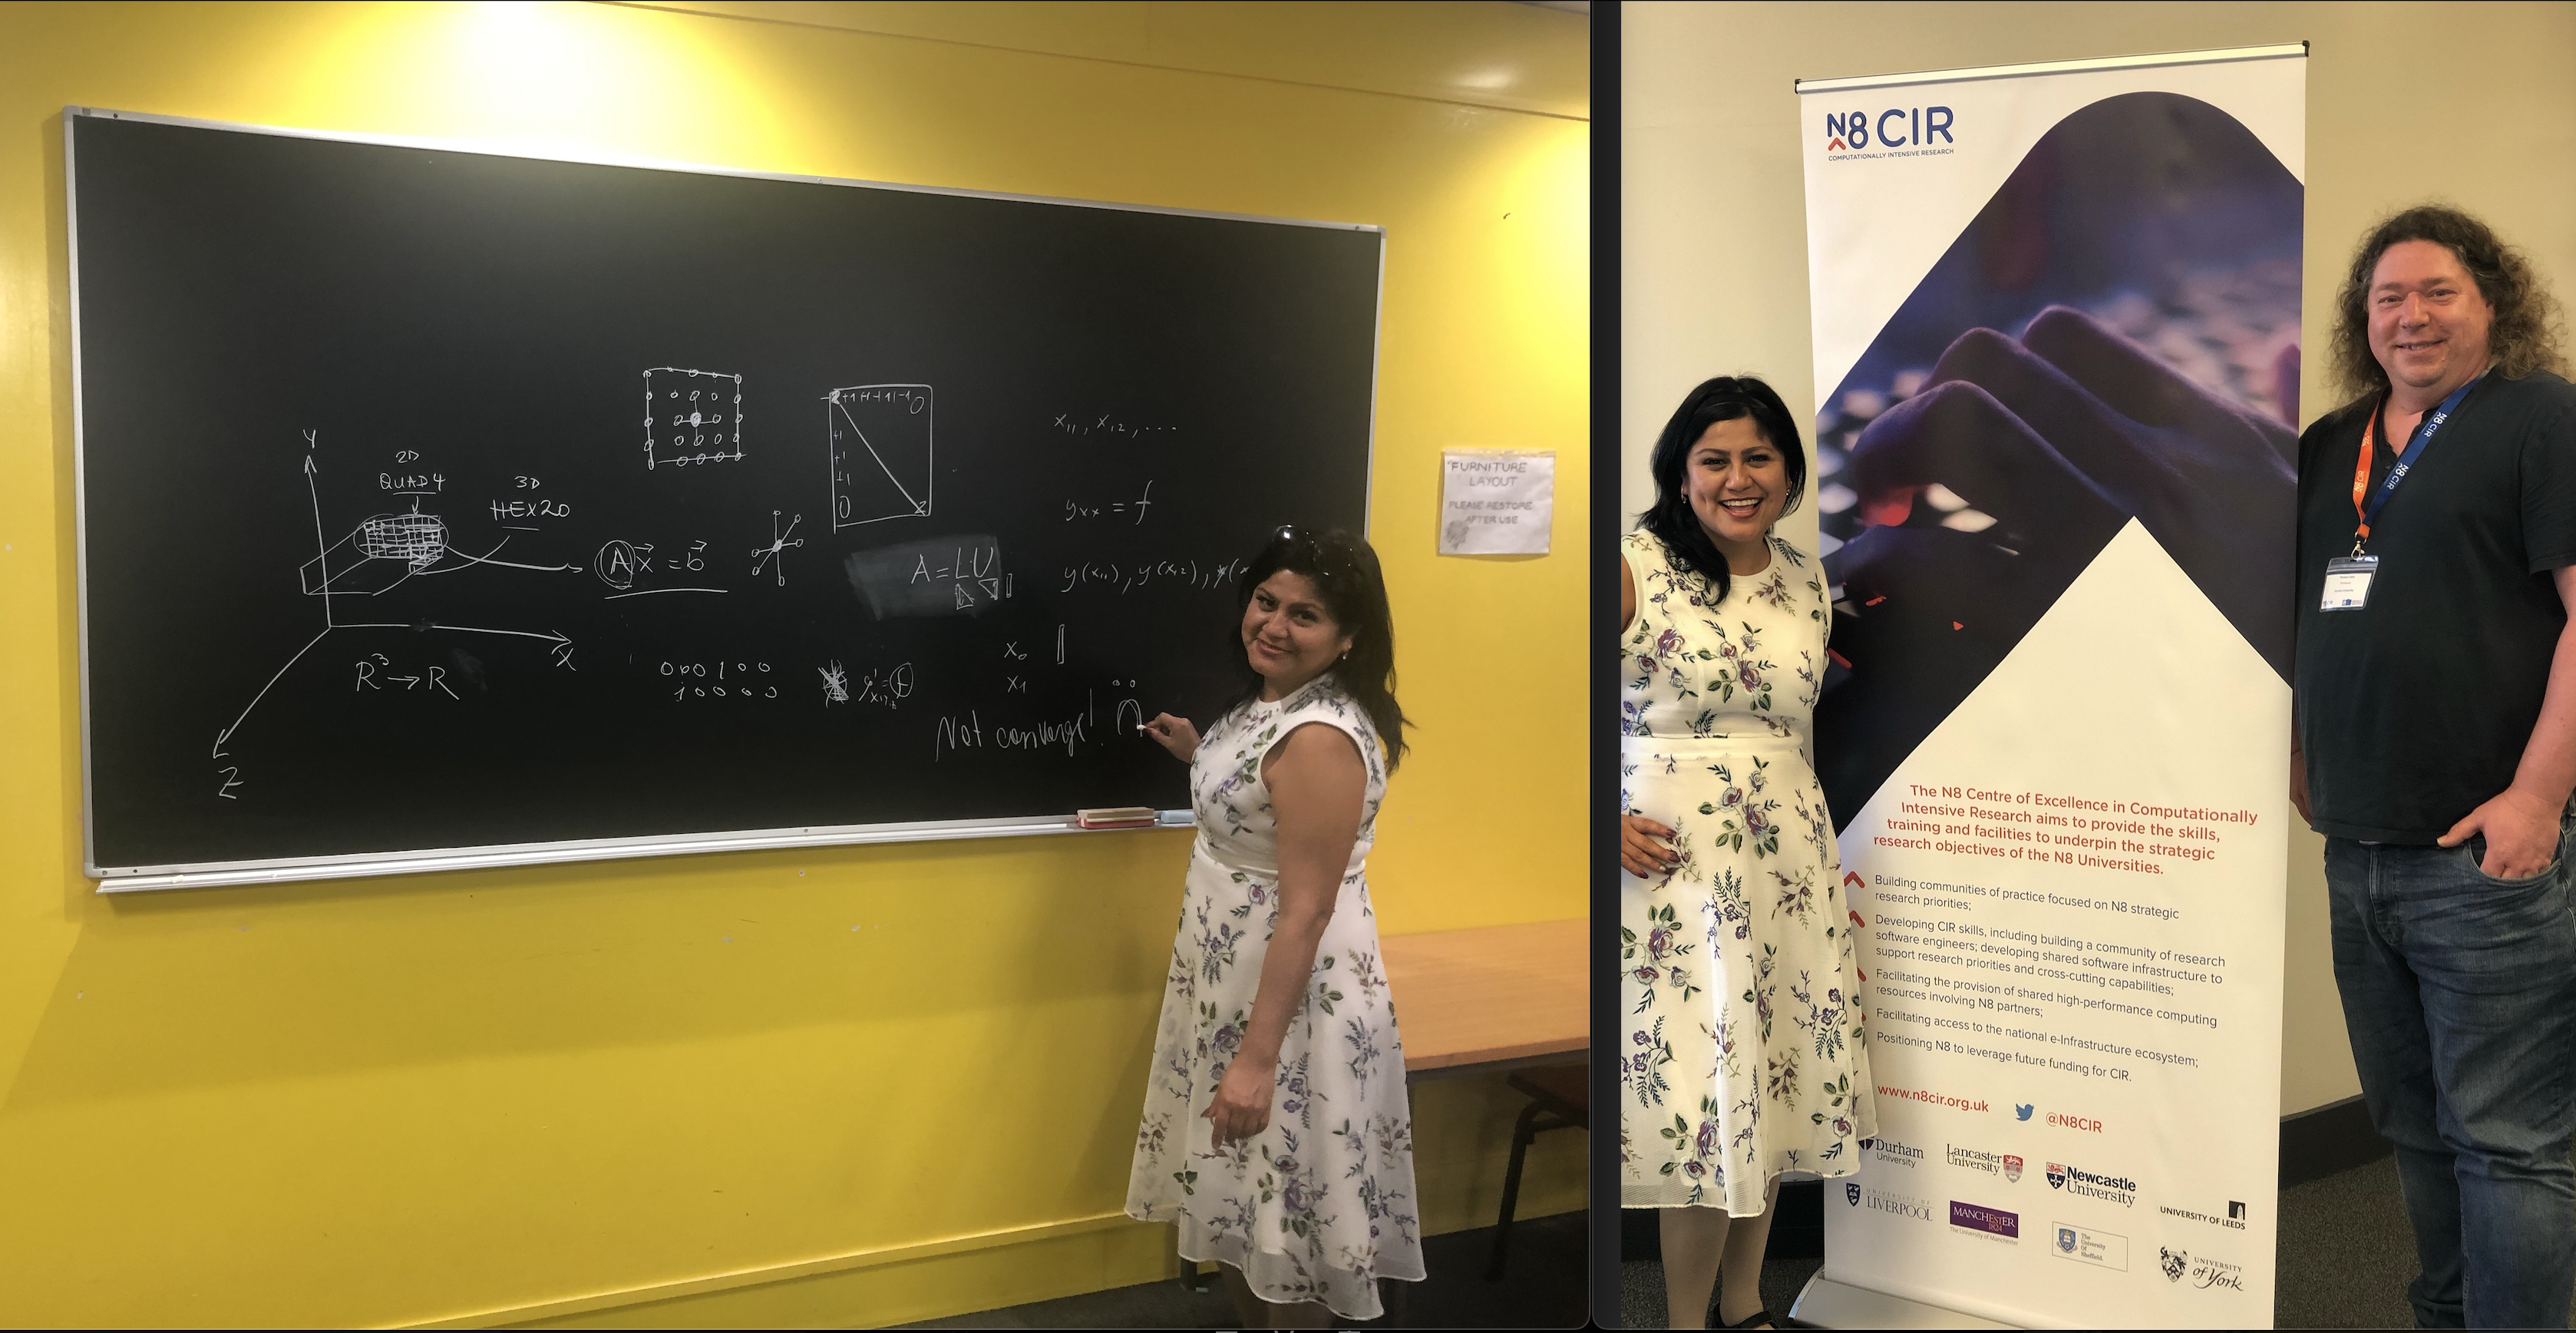
From 28 March 2022 to 1st April 2022, N8 CIR organized the Digital Research Infrastructure(DRI) Retreat in the University of Manchester. You might find more about the N8 partnership here.
The goal of N8 CIR is to create a Centre of Excellence in Computationally Intensive Research, sharing methods, skills and facilities to underpin the strategic research objectives of the N8 universities.
Topics and Panelists
One of my favorites discussions was about the academia. I met Dr. Sarah Harris who is a passionate biologist who also is a user of High Performance Computing (HPC) resources, and RSE services.
Unconference Activities
One of the activities I enjoyed the most was the unconference. We listed in an online document our ideas of how to improve different issues such as sustainable learning, interaction in a team, as others.
Networking
I was able to meet a great mathematician who helped me with some Linear Algebra concepts. Felt good in using again chalkboard at the university. Really appreciate the kind help received during the event.
Exquisite Food and Impeccable Service
The organization arranged our stay at Hyatt, and we all enjoyed fine catering and dinners.
Getting around the city
Manchester is definitely a jam-packed city with ancient and modern architectures. I was so happy to walk again in this marvelous place!
Manchester City Stadium | Manchester Central City | Piccadilly Gardens
Great organization! Again… Congratulations! I was very happy to meet great people and professionals within the UK!
Today, we offered an online talk in the University of Edinburgh for free.
Last week, Bella, Lorenzo and myself were able to outline the main points of the talk. We did an online rehearsal to anticipate some questions and answers.
Last week, Bella, Lorenzo and myself were able to outline the main points of the talk. We did an online rehearsal to anticipate some questions and answers.
Bella is a well-informed educator in the fusion field and she explained the process of getting and releasing the energy source using a lithium blanket in a tokamak. I particular liked how she explained the physics behind the scenes of the purple colour of a plasma in simple words to the students.
Lorenzo gave an overview about fusion and the role of Artificial Intelligence to make fusion possible for everyone is the upcoming years. Hopefully in 2040s.
Julita (me) was trying to emphasized the digitalization of a tokamak, and the effort done for around 100 years for several scientists around the world.
I was very glad to see that we reached an audience of about of 52 people.
Some curious questions were raised after our presentations, such as how many tokamaks are in the world, when it will be possible to have sustainable fusion, how IA contributes to this challenge, among other numerical accuracy questions.
Other questions were solved in the box Q/A online by others such as Gulio:
Thanks to Xinran and all the organizers for the opportunity to share our knowledge with more students and future scientists!
A group of enthusiastic employees of UKAEA attended to an event organized by the TYC in the Queen Mary University located in London, UK on May 10th.
UKAEA talents
Michelle Tindall traveled to London from South Yorkshire where UKAEA has a new site with scientists allied to achieve the commercial fusion in upcoming years. She shared her fusion’s experience with the PhD students.
Priti and Bella are two inspirational women involved in the fusion field. They emphasized the importance of the studies of materials, and their behavior at nano-scale level at extreme temperatures. Most of the students at the event have expertise in this matter.
Jacob and Sam are the two scientists working for the STEP project. They have more than five years experience and know-how of prototyping and integration of components in a tokamak (JET and ITER).
Julita (myself) recently joined STEP and the tokamak digitalisation challenge. I am striving for simulating different components of a tokamak. I shared my knowledge with the students.
The talks
I was very pleased to hear that most of the studies involved the application of IA with GPUs and Tensor Flow, as well as HPC cluster Tier 1 such as ARCHER, and some other chemical researches that use Tier 3 clusters that London Universities own. Some projects are still using local cores in their studies, that is the case of the lovely chair: Chengcheng Xiao. Congratulations also to Fabian, who won the poster competition by doing a study of the graphene deformation.
Latino American Scientist in the UK
I was thrilled to speak face-to-face in Spanish (my mother tongue) with successful scientists in the UK: Jorge Ontaneda and Rachel Crespo Otero.
Event Catering
We enjoyed an extensive range of the finest and delicious coffee breaks, lunch, and our happy ending with wine and snacks. Thank you very much to the organizers for the invitation and kindness received throughout the event.
Personally, I had nostalgic feelings towards parts of university in Edinburgh by hearing about CP2K on ARCHER. I can say that this conference somehow took me to the past at uni moments, and oddly also to the future, I had the opportunity to talk more with colleagues about the fusion business. Thanks UKAEA for this! ❤
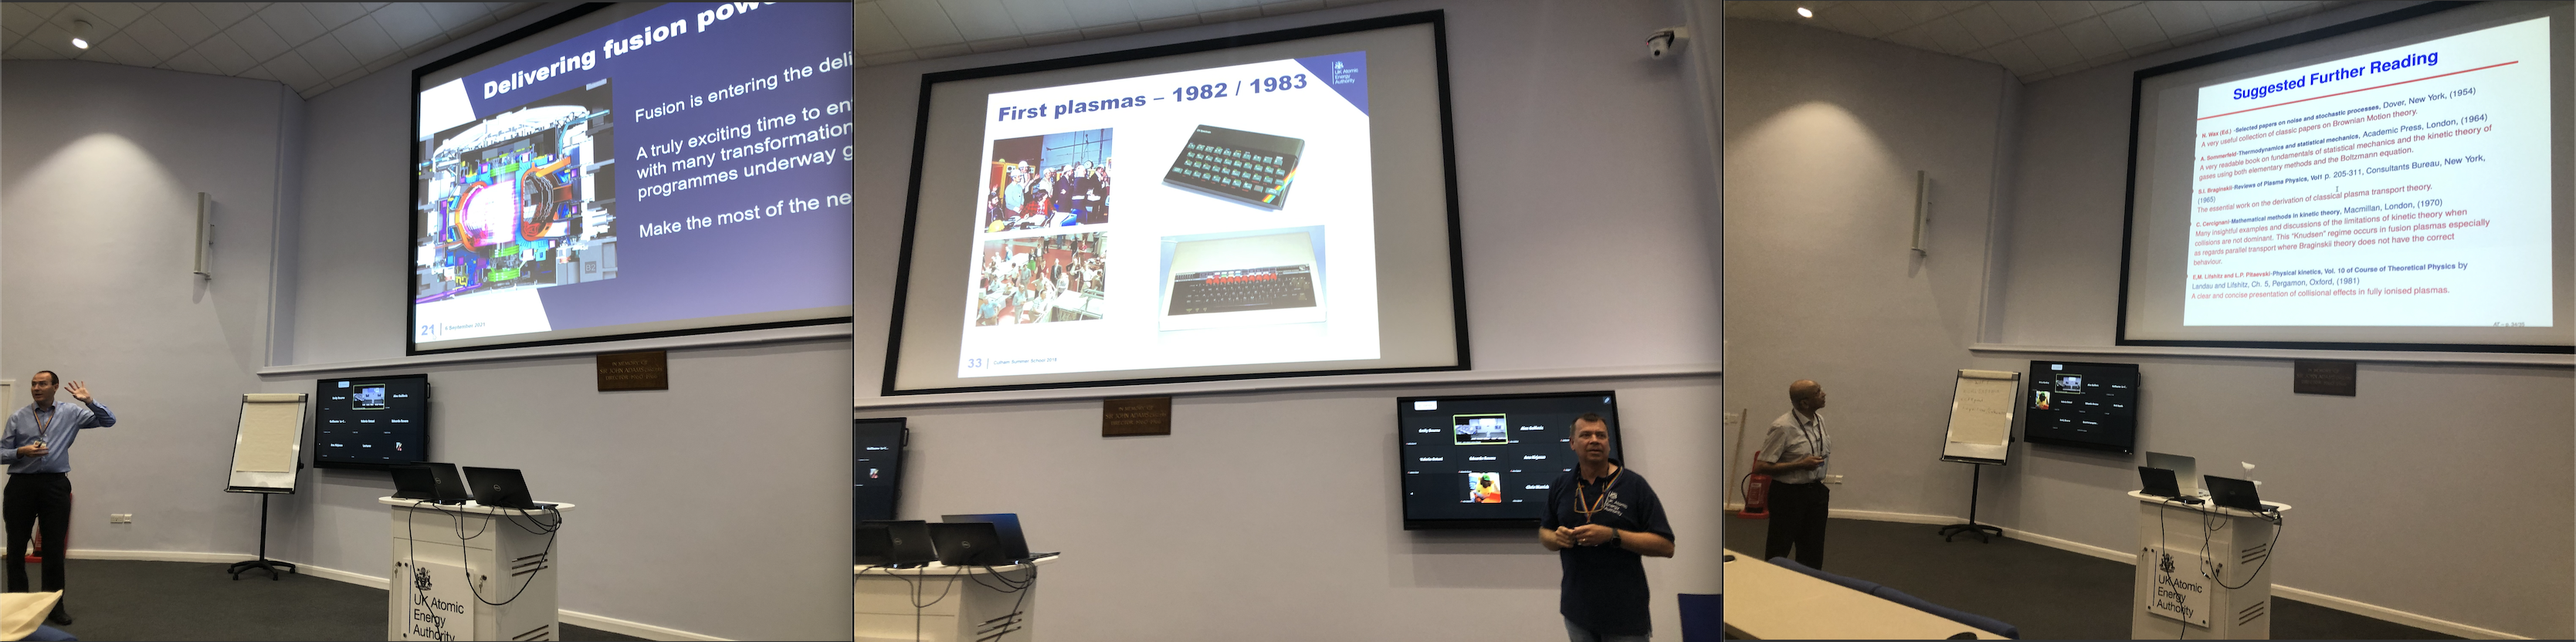
I was able to attend the 58th edition of the Culham Plasma Physics Summer School held at the UKAEA site. This event which consists of students and professionals related to Physics, Maths, Computer Science, and researches from around the world who are working in favour to develop nuclear fusion.
The lectures
As it was planned in the schedule, the first day started with an overview of what UKAEA is doing in order to achieve its mission. The first talk was presented by the CEO, Ian Chapman. It was followed by Chris Warrick from UKAEA comms to talk about the history of Plasma. One of the renowned researchers (Mr. Chippy Thyagaraja) presented on both Mathematics and Plasma physics.
From the right to left, Dr. Chapman, Dr. Chris, and Dr. Chippy.
My favourite talks
I chose these talks because in my eyes, being a scientist and communicator is extremely challenging. Prof. Nicholas Braithwaite from The Open University gave us an idea of the progress overtime in the subject of Low Temperature Plasma. Dr. Kate Lancaster who was also an attendee of the Culham Summer School 20 years ago (wow!) talked about inertial confinement plasma. One of the youngest lecturer was Phd. Hardman from Oxford, who really did a hard job in kindly presenting the talk twice since he did it online and also, in behalf of his colleagues.
The attendees
The organization provided some tea and biscuits during break times in the middle of morning and afternoons. Paul Hiret, was the winner of the poster presentation with his study in plasma. The launch time was a great opportunity to meet more researchers and thanks to all for kindly accepted my unexpected photos 🙂
Closing event
A dinner was organized in the Edmund Hall at Oxford University after two intense weeks. We enjoyed an exquisite menu with wine. I had the chance to meet a well experienced professional in Plasma in Business: Adam Woods, who is working for STEP!
My appreciation
I am glad that now I have a better understanding of the structure of a tokamak, the studies of plasma done in the UK, the USA, Russia and throughout the EU.
In the future Culham Plasma School events, I would suggest arranging the order of topics (e.g. We had “What is a Tokamak” on Wednesday, instead of Monday). Starting from the simplest concepts for the first day, makes easy to understand the complexity of plasma concepts and other work related.
I also was pleased to meet different scientists with different personalities and cultures ❤
Friendly support
I want to give a special thanks to some participants for making me feel welcome in this new world of science. They kindly offered some explanations on what is going on in the lectures and in general, in the UK.
Pictured from the left to the right: Emily Lewis, Luke Humphrey and Michelle Tindall.
The content of this post was approved by UKAEA’s comms: Chris Warrick, Nick Holloway, Nikolaus Muldal. Special Thanks to Tara Robinson for the English corrections.
Today, we have “celebrated” a year of the lock-down in the UK. It is also been a year that I was not able to travel to anywhere to celebrate with the GNOME community all the advances that this organization has been done for years in pro-FLOSS.
I have been invited to be a presenter in this new endeavor! The GNOME Latam 2021! Thanks to Daniel Gallegillos who gave me more details about this event, where mostly the languages used in the talks are going to be Spanish, and Portuguese.
You are more than welcome to join us, and to listen to these interesting talks this Saturday, March 27, 2021. To see the entire content of the talks, click here!
Yesterday, I attended to the workshop of MOOSE held by members of the Idaho National Laboratory. There were two days, where they showcased around 11 exercises of MOOSE. One of them was the hands-ons by Andrew Slaughter, and I want to share that experience.
First of all, we can clone the repository to see the structure of the folders of a MOOSE app.
Inside the application which in this case is called MurderHornet, we are going to build it in parallel to finally run the tests previously set. We have to see a message PASS for this test.
cd MurderHornet/
make -j 4
./run_tests
Now, it is time to run the input file with the executable developed by Andrew inside the kernel folder. Usually, the input is located inside the problem folder.